Introduction to Adding Pictures to Fixed Locations
Adding pictures to fixed locations can enhance the visual appeal of your projects, whether it's for a presentation, a website, or a digital document. This guide will walk you through the process of adding pictures to specific locations in various applications and platforms.
Choosing the Right Image
Before you start adding pictures, it's important to select the right image. Consider the following points:
1. Relevance: Ensure the image is relevant to the content or context where it will be placed.
2. Quality: Choose a high-resolution image to maintain clarity and detail.
3. Size: Consider the size of the image in relation to the fixed location. You want it to be large enough to be visible but not so large that it distorts the layout.
Adding Pictures in Microsoft Word
Microsoft Word is a common tool for creating documents with fixed locations for images. Here's how to add a picture:
1. Insert Picture: Go to the Insert tab and click on Picture.\
2. Select Image: Navigate to the location of your image file and select it.
3. Position Image: Click and drag the image to the desired fixed location within the document.
4. Adjust Size: Use the corner handles to resize the image to fit the space.
5. Lock Position: Right-click on the image, go to Format Picture, and then select Advanced Layout Options. Check the Lock Aspect Ratio box to maintain the image's proportions.
Adding Pictures in PowerPoint
PowerPoint is ideal for presentations where images are placed in fixed locations on slides. Here's the process:
1. Insert Picture: Go to the Insert tab and click on Picture.\
2. Select Image: Choose the image from your file system.
3. Position Image: Click and drag the image to the fixed location on the slide.
4. Size and Format: Use the corner handles to resize the image. You can also add a border or shadow for emphasis.
5. Group with Text: If you want the image to stay with the text, right-click on the image, select Group, and then Group with Text.\
Adding Pictures to Websites
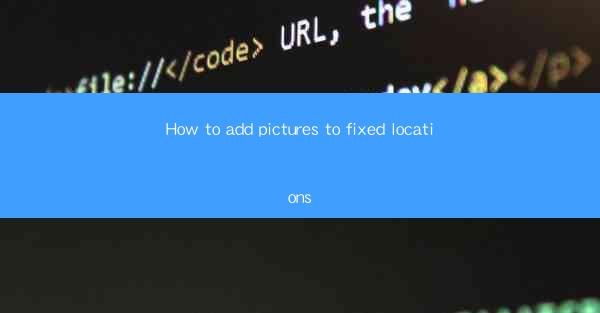
For websites, adding pictures to fixed locations involves HTML and CSS. Here's a basic guide:
1. HTML: Use the `` tag to insert the image into your HTML document.
```html

```
2. CSS: Use CSS to position the image using the `position` property and set the `top`, `right`, `bottom`, and `left` properties to fixed values.
```css
.fixed-image {
position: fixed;
top: 100px;
right: 50px;
}
```
3. Responsive Design: Ensure the image is responsive by using percentages or viewport units for the width and height properties.
Adding Pictures to Digital Documents
Digital documents like eBooks or PDFs often have fixed layouts. Here's how to add pictures:
1. PDFs: Use a PDF editor to insert images. Most editors allow you to drag and drop images into the document and position them as desired.
2. eBooks: If you're creating an eBook, use the software or platform's guidelines for inserting images. Some platforms may require you to embed the image within the text or as a separate file.
Conclusion
Adding pictures to fixed locations can greatly enhance the visual impact of your work. By following the steps outlined in this guide, you can successfully integrate images into your documents, presentations, and websites. Remember to consider the relevance, quality, and size of the images, and use the appropriate tools and techniques for each platform.


